

Shine Decor 120V LED led Neon Rope Light Install Instructions - Easy Setup
1. Shine Decor 120V Led neon rope light User Manual
Learn to easily install Shine Decor 120V Led neon rope light using this guide-Shine Decor neon user manual. The Shine Decor Led neon rope light will enhance your home decor with ease, delivering professional results!

This user manual explains how to cut Led neon rope light, how to power Shine Decor neon rope lighting, and how to do waterproofing for Shine Decor IP65 neon rope light. Learn about warranty and LED neon rope lighting user warnings too.
2. Shine Decor Neon Rope Lighting WARRANTY
All of Shine Decor LED Neon Rope Light is warranted against defects in workmanship and materials for one year from purchase. Enjoy a 1-month hassle-free full refund, 6-month money-back or free replacement, and a 12-month limited warranty.

3. Shine Decor Neon Rope Light WARNING
1. Unroll the Led neon rope light before lighting. Otherwise, it can melt or catch fire.
2. Always unplug Led neon rope light before installing.
3. Cut only at the marked cutting points on the rope light.
4. Never stretch or pull the strip lights.

5. Waterproof warning
- The Shine-Decor 110V-120V IP65 rope light is not intended for pool use. Danger of electric shock.

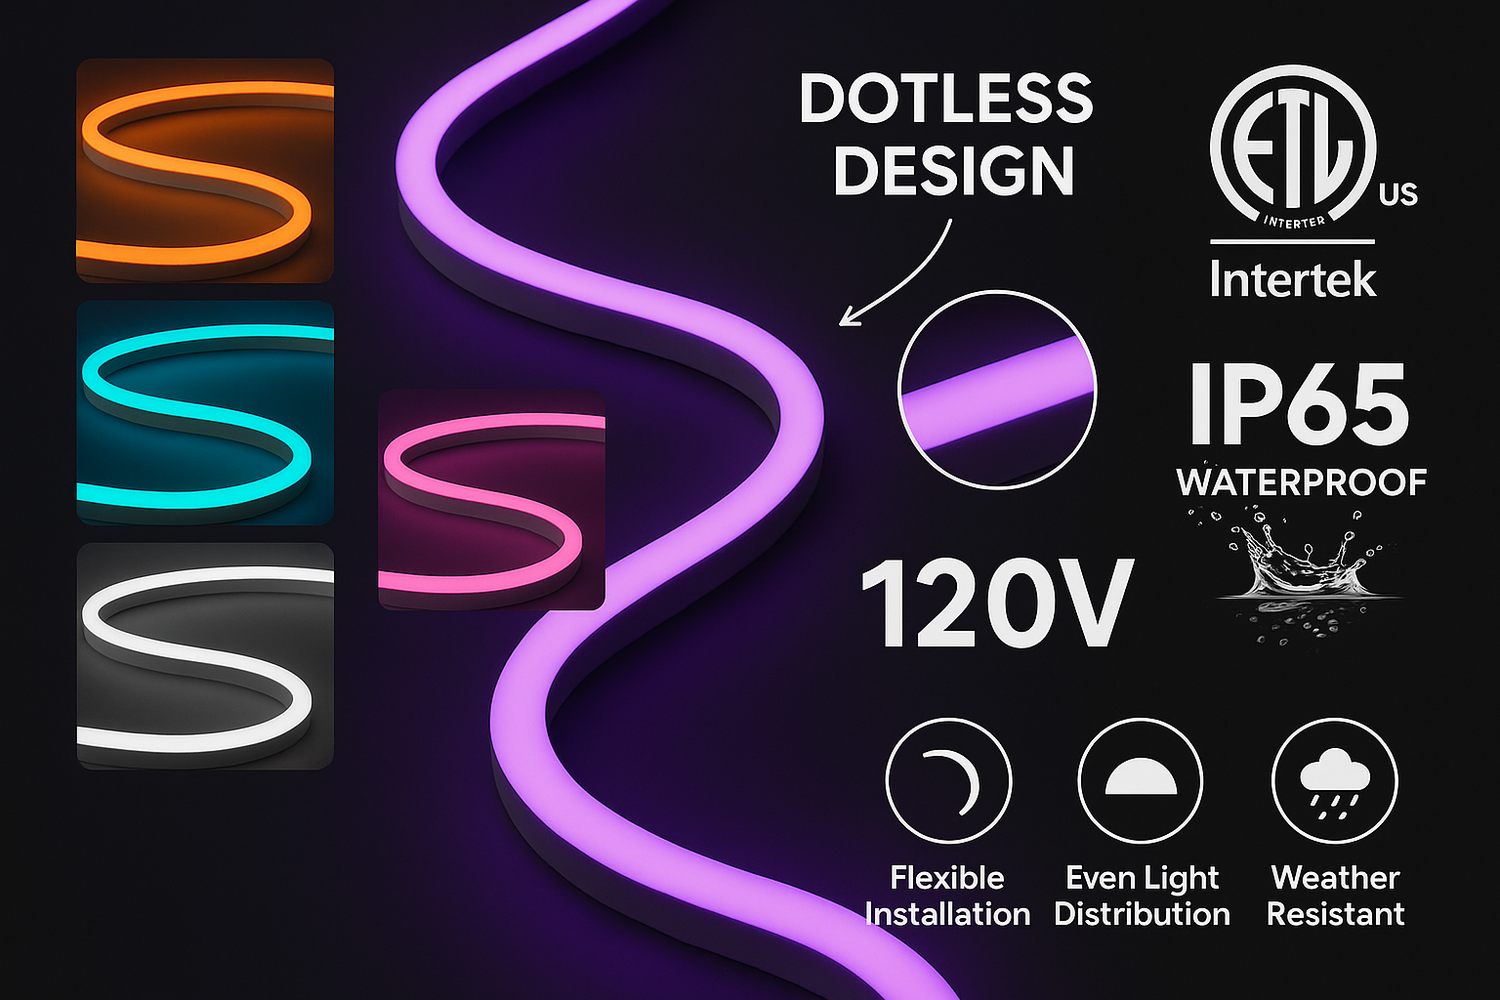
- Note: The IP65 splashproof rate LED neon rope lighting is meant for outdoor lighting only.
- The IP67 waterproof rate can be used for poolside and wet areas.
- The IP68 waterproof rate neon strip is suitable for underwater use.
- IP65/IP67/IP68 Shine-Decor varieties are all available. Search keywords or check our specification sheet for details.
We offer professional LED lighting solutions and LED accessories so your project succeeds. Contact us for more information at www.shine-decor.com via email or visit for instant help.

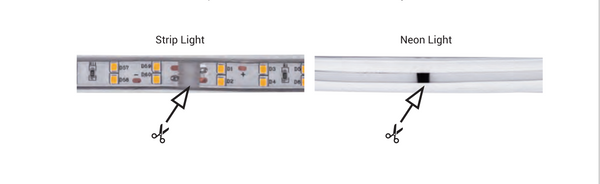
4. Shine Decor Neon Rope Lighting Cutting Instruction
All Shine Decor neon rope lights can be cut at marked intervals. However, cutting is not recommended:
- Cutting the rope light will void pre-modification certifications.
- Cutting/damaging the outer tube may cause electrical or fire hazards.
- Cutting outside cut marks can ruin the rope light.
- Still, step-by-step safe cutting guides are provided for your needs.

1. Disconnect power before making cuts.
2. Measure length; most rope lights are cuttable at every 1 meter (3.3FT). Check your product for the cut interval. Round to the nearest interval to fit your needs.
3. Locate the cut spot. Look for the black dot. Avoid cutting through diodes or circuit boards. Cut exactly at the dot with a perpendicular blade.
4. Keep the cut smooth and clean. Inner wires show at the ends. Attach accessories like power cords, end caps, dimmers, or controllers as needed. Each cut rope light section needs these for use.

Note: Not using a small cut section? Seal it with an end cap. Search “end cap” on our site for extra packs.
Creating additional strips from one neon strip? Get extra power cords/RGB controller packs to ensure all strip segments work.
5. Shine Decor Led Rope Lighting Bending Instruction
Flexible neon lights bend better than strips but do not crimp or make sharp 90-degree bends. The led neon rope lights wrap easily around railings or poles, but do not allow lateral bends.

You can achieve a 60-degree bend using L connectors or a female-to-female extension at the cut mark.
Important notice:
- The minimum bending radius is 4cm/1.57 inches.
- Bends in neon rope lights must have a diameter over 4cm to avoid damage.
- No sharp bending; sharp angles can void warranty and cause failure. Do not fold or overbend the light. Repeated continuous bending may damage circuits and void warranty.

6. Shine Decor Neon Powering Instruction
If you plan to cut your Led neon rope light for different locations, buy extra accessories to power additional cut sections. Our 120V driverless rope lights use AC voltage without adapters. Single-color lights require an extra power cord, end cap, and/or dimmer.

For RGB LED rope light, use an additional controller pack and end cap. Attach accessories using pins, keeping direction consistent with the arrow mark. Connect prongs and wire properly to avoid shorts.
1. Disconnect power before starting.
2. Identify 2 or 4 wires (single color/RGB). Ensure the polarity is correct; match pin direction with “→” mark.
3. Gently insert pins, making a solid connection to internal wires. Do not force pins in too far.
4. Attach rounded prongs to the power cord/dimmer/controller. If lights do not turn on, turn the power cord 180° and reconnect.
5. Test your light after powering up. Always keep the rectifier or controller on the wire—never remove it.

7. Shine Decor LED Neon Rope Light Hard-Wiring Instruction
All 120V LED strip lights and 120V Led neon rope light types support hard wiring. It’s best if done by a professional electrician.
Shine Decor Wall Dimmer Switch Recommendation

8. Shine Decor Light Waterproof Instruction
Important Note:
Shine Decor 120V IP65 neon rope lights are water-resistant, not waterproof. Always reseal all connections, power cords, and end caps when using outdoors. This prevents moisture damage and safety hazards.

Proper waterproofing extends the life of your lighting. All outdoor connections must use a heat-shrink tube.
After cutting the strip, always re-waterproof using silicone or PVC. All connections, cords, and end caps must be sealed.
NOTE: Using non-recommended materials (like electrical tape) can cause failure and void the warranty.
The power cord, fuse, and connector area are not waterproofed. Use a waterproof case for safety—suggested box size: 10*5*4cm.

1. Disconnect power first.
2. Seal the connection with silicone adhesive, working the silicone inside and outside the area. Let dry 24 hours.
3. Slide heat-shrink tubing over the connector, heat gently to seal.
4. Use more tubing in an overlapping spiral for authentic waterproofing. Heat with a gun. Be sure to waterproof the end cap.

Waterproofing the end cap
-- Squeeze silicone glue into the end cap and plug in the strip.
---Use enough heat-shrink tube to cover the connector. Heat with a gun.
---Ensure that the heat-shrink tube melts completely over the connector.

Important note:
All outdoor connections require weatherproof heat-shrink tubing.
Unspool rope lights fully before powering on to avoid damage.
Test brightness and color before cutting. Cutting before testing may forfeit returns or exchanges. Buy the 16ft sample for testing before bulk purchases.
Do not run lights 24 hours a day. Overuse can cause overheating, a shorter lifespan, and warranty issues. Turn off periodically.

9. Shine Decor Lighting TROUBLESHOOTING

10. Shine Decor Video tech support reference
Check all Shine Decor-related videos here
How to install Shine Decor 120V LED neon light?
How to waterproof and cut, and connect Shine Decor LED neon light?

Discover how to cut, power, and waterproof your Shine Decor Led neon rope light for the best performance. Follow this complete user manual to easily install Shine Decor 120V Led neon rope light in any space, giving you reliable and brilliant illumination.
12. Questions? Problems? Bulk order discount?
Instantly chat to our Customer Service on www.shine-decor.com
Or email us at info@shine-decor.com. We would love to hear from you!


2 comments
I am looking at your 12 VDC for installation inside Motor Coach. Are the 12 volt system same size as your 120 Volt AC? I have a roll of the 120V for my house and understand your system and preparing to replace inside of the coach. Size might be an issue
How many watts per foot?
Hi there. My strip light only blinks.
Can you help.